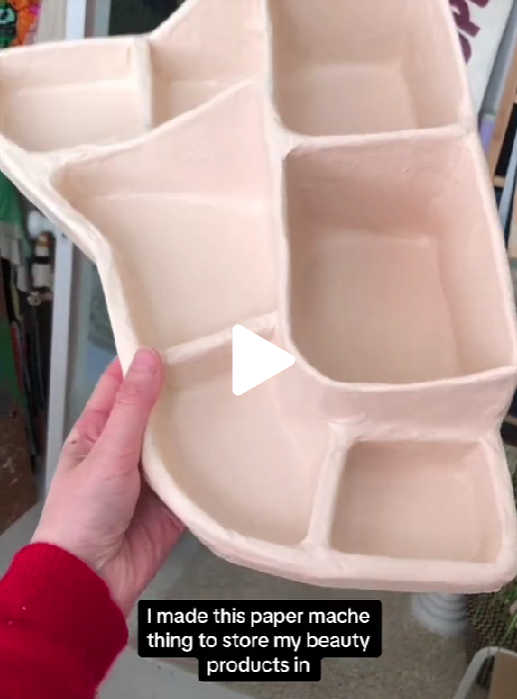
This TikTok video by @beigeflannel showcases various unique and creative paper mache ideas suitable for workshops. The engaging content is perfect for inspiring teenagers about the versatile artistic possibilities of paper mache.
Here are some more paper mache ideas from ChatGPT
1. Paper Mache Globes: These are both fun and educational to create. You can start by inflating a balloon and then layering it with strips of newspaper soaked in paper mache paste. After it dries, participants can paint it to look like a globe.
2. Animal Masks: Ask participants to choose their favorite animal and create masks representing them. It’ll not only be artistic but also a good way to educate about different animal species.
3. Paper Mache Bowls: These are practical and easy to make. Participants can use balloons as a mold, and once the paper mache has dried, they can pop the balloon and paint the interior of the bowl.
4. Mini Pinatas: Teach them how to create traditional pinatas using paper mache. They can make cones or round shapes and decorate them.
5. Paper Mache Sculptures: Give participants the freedom to create whatever they like, be it abstract sculptures or representations of real things.
6. Decorative Vases: Participants can create a base structure with a balloon or pieces of cardboard, then cover it with paper mache. After it dries, they can paint and design the vase.
7. Paper Mache Fruit: This is a fun and colorful project. Participants can make different kinds of fruit like apples, bananas, oranges etc.
8. Paper Mache Puppets: Using paper mache to create the heads of puppets, while the rest of the puppet can be made from fabric or other materials.
9. DIY Lanterns: These can be made using balloons as a base shape. Once the paper mache has dried, pop the balloon and cut a small hole for the light to be inserted.
10. Personalized Pencil Holder: Using a small plastic bottle or a cylindrical structure as the base, participants can use paper mache to build around it, creating a unique and personalized pencil holder.
Always remember, when dealing with paper mache, to let each layer dry before applying another to avoid mold growth. Make sure your workspace is covered as this can be a messy activity. Happy crafting!